
Quick-Start Guide
This guide is meant to help users get FlightPath up and running and quickly as possible, at least for testing purposes.
There are 3 main components to setting up FlightPath: (1) Setting up a web server environment, (2) Setting up a MySQL database, (3) Installing the FlightPath files themselves.
This guide will focus on setting up FlightPath to run under a Windows development environment, but it can easily be adapted to any other setup.
1) Setting up the web server environment
If you already have a web server, you may skip this step.
For development purposes, I will be using the Xampp system. It's free, and has Apache, MySQL, and PHP included all in one easy-to-install package for Windows.
- Begin by downloading the Xampp 1.8.2 package. I prefer the "portable lite" version. Direct download here:
http://www.apachefriends.org/download.php?xampp-portable-win32-1.8.2-2-VC9-installer.exe - Install to "C:\xampp1.8.2" or similar directory. If you have Dropbox, installing into your dropbox is very handy if you switch computers often. Otherwise, C:\xampp1.8.2 is fine.
- Start the control panel (you can do this later by running C:\xampp1.8.2\xampp-control.exe.
- Click "Start" for both Apache and MySQL. Your window should look something like this:
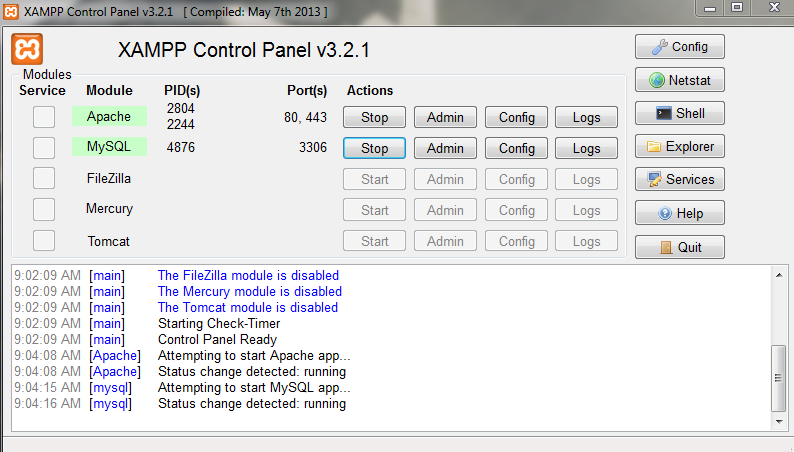
- Congrats! You've just set up the web server!
2) Setting up the MySQL database
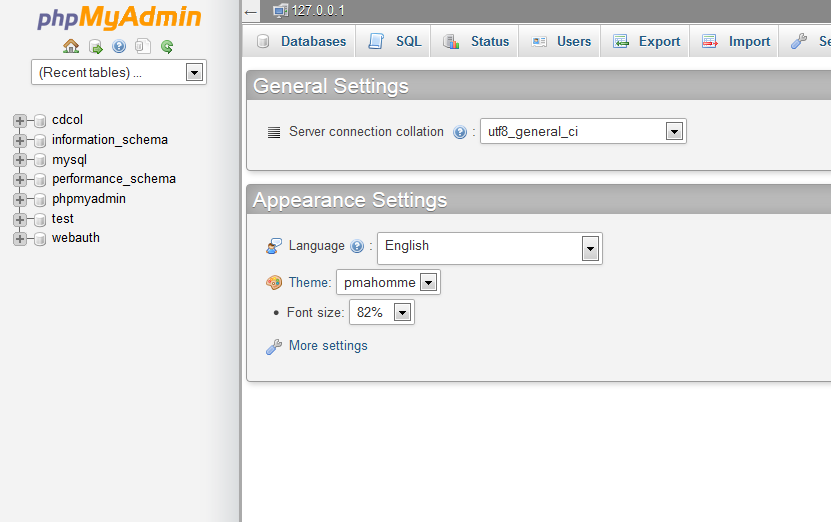
- With the Xampp control panel open, and MySQL running, click the "Admin" button. This will open up a new browser window, with the application phpMyAdmin running. This application will let you manage your databases.
- We need to create 2 things. A database user, and an actual database, for FlightPath. Luckily, phpMyAdmin makes this easy for us.
- Your screen should look something like this:
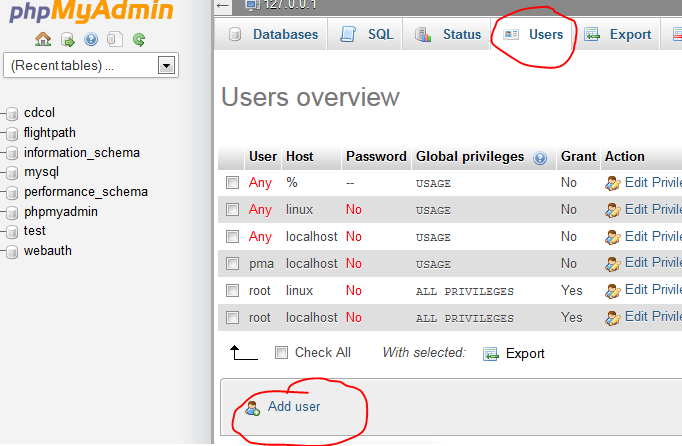
- Click the "Users" tab at the top, then "Add user":
- On the next screen, we will create a user called "flightpath" (all lower-case) and have the system automatically create a database for us as well. Enter your values to look like this screen:
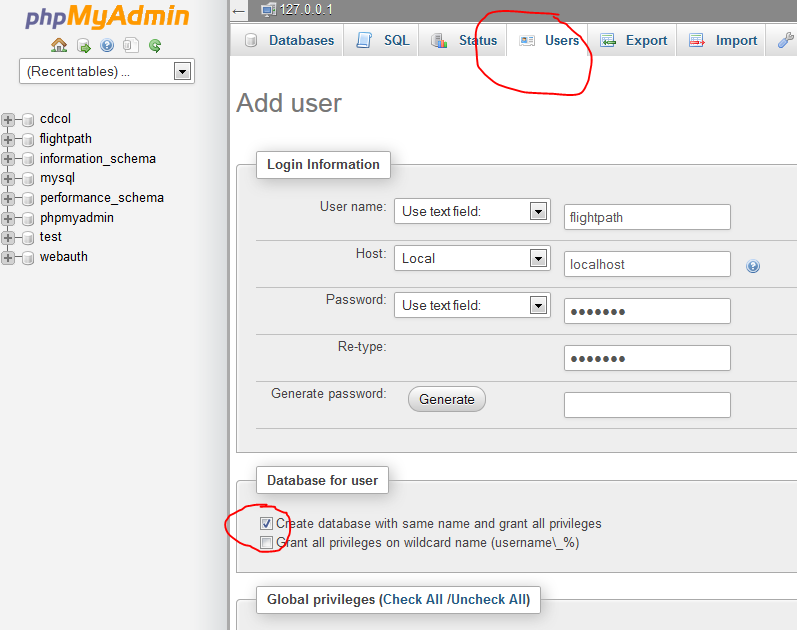
- Username: flightpath
- Host: Local (localhost)
- Password: fp12345 (or whatever you'd like. For this guide, we will use this simple password)
- Make sure to click the "Create database..." checkbox.
- Now, SCROLL TO THE BOTTOM of the page, and click the "Go" button on the RIGHT of the screen.
- This will create both your database user, and a database with the same name.
Note: If you are using MySQL 5.7+, you may need to add special settings. Please see this page:
http://getflightpath.com/node/1161
3) Installing FlightPath
You can see a video demonstrating parts of this step here.
- Download the latest FligthPath zip file from getflightpath.com, and unpack it to:
C:\xampp1.8.2\htdocs- This is the "web root", where web pages will be served from.
- You should now have a "flightpath" directory under htdocs, so that the file "CHANGELOG.txt" is at C:\xampp1.8.2\htdocs\flightpath\CHANGELOG.txt.
- In a new browser window, visit "http://localhost/flightpath". An installation screen should appear, click "English" to select the installation language. You should see the following screen:
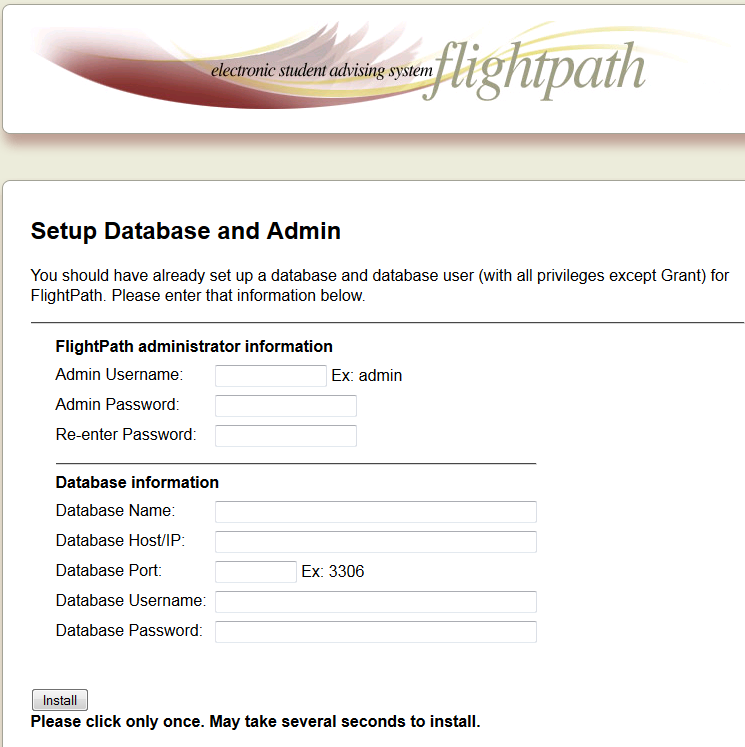
- Enter these values:
- Admin username: admin
- Admin password: admin12345 (or whatever you want)
- DB Name: flightpath
- DB Host: localhost
- DB Port: 3306
- DB Username: flightpath
- DB Password: fp12345 (or whatever you entered previously)
- Click Install, wait several seconds for install to complete.
- Congratulations! You have completed your installation of FlightPath, and can now proceed with logging in as Admin and exploring the system.
Please be aware that this guide doesn't take every security precaution into account, and is assuming you are installing FlightPath on a relatively secure development environment. Always use appropriate security techniques (longer passwords, etc) in production environments.